
IntuBlade Walkthrough
Portable Video Laryngoscope for EMS and Emergency Airway ManagementDr. Andrew Napier walks through the full IntuBlade setup and intubation process from start to finish.
What you will see
Everything ships in a single peel pack. Open it, pull out the device, and the USB-C cable is already attached.
Plug directly into your phone or tablet. No separate monitor. No extra equipment.
Insert a 10mL syringe into the luer lock handle. This is the saline flush system that clears debris from the lens mid-intubation.
The app starts recording automatically the moment you plug in. You hear an audible confirmation.
After the procedure, dispose of the blade according to facility protocol. The video can be saved to the gallery and routed into your organization’s configured local or Admin Portal workflow.
The LEDs on the blade tip run at over 3x ISO certification (1500 lux) and prevent fogging around the lens.
Who this is for: Any provider learning the device for the first time. EMS crews, ED clinicians, simulation instructors, and agency trainers onboarding new users.
Educational demonstration only. Not medical advice.
Real-Time Intubation Tracking
IntuBlade Field-to-Cloud DemoDr. Andrew Napier performs a live intubation on a manikin while screen-mirroring his iPhone, then shows the recording appear in the admin portal in real time.
What you will see
The admin portal is accessed through intublade.com. Log in with your admin credentials.
On the phone side, the IntuBlade plugs in, the light turns on, and the app starts recording automatically.
After the intubation, stop the recording. The video immediately begins uploading to the cloud.
Switch to the admin portal. Find the user by name. Click into their gallery. The video is already there.
This works over cellular or Wi-Fi. You can toggle mobile data upload on or off in settings. You can also force upload over cellular if data usage is not a concern.
As a medical director, you can be at home, pull up any provider's name, and watch their intubation videos in near real-time.
Who this is for: Medical directors doing remote QA review. Agency admins overseeing field teams. QA leads who need to review intubations without being on scene.
How to Add Sub Users
IntuBlade Admin Portal SetupStep-by-step screen recording of how to add and manage sub users in the IntuBlade Admin Portal. No voiceover. Follow along visually.
What you will see
How to navigate to the sub user section in the admin portal.
Adding a new user by email and sending the confirmation code.
The new user receives the code at their admin email and enters it to activate their account.
Assigning the user to your organization so their intubation videos route to your admin dashboard.
Who this is for: Medical directors, QA leads, and agency admins setting up their teams for the first time.
Admin Guides
How to create and use Unit IDs for multi-operator access.
- 1Go to Admin Panel, navigate to Organizations, then Groups.
- 2Open the relevant group and find the user in the members list.
- 3Click the Unit IDs button on their user card.
- 4Click Add Unit ID, enter the operator's name, click Create.
- 5Copy the generated Unit ID and password, they appear once and are not stored in plain text.
- 6Share the credentials with the operator directly.
Frequently Asked Questions
Department planning tool
Video Laryngoscope Department Evaluation Scorecard
A four-page worksheet for reviewing device readiness, blade and lens-clearing workflow, procedure capture and QA/QI, training, rollout, and purchasing with your clinical and procurement teams.
Core Training Assets
Everything your team needs to deploy, evaluate, and administer IntuBlade.
System Walkthroughs
IntuBlade App: Clinical Workflow
See how paramedics document intubations in under 60 seconds with automatic recording and ePCR-ready links.
- Automatic recording starts the moment IntuBlade is plugged in
- Attach tube confirmation photos directly from the app
- Copy unique shareable playback links for ePCR documentation
IntuBlade Portal: Administrative Intelligence
Review team performance and individual footage with zero manual work from providers.
- Navigating the Admin Dashboard
- Reviewing individual provider footage
- Flagging videos for coaching or follow-up
- Real-time performance tracking vs. national benchmarks
Document Gallery
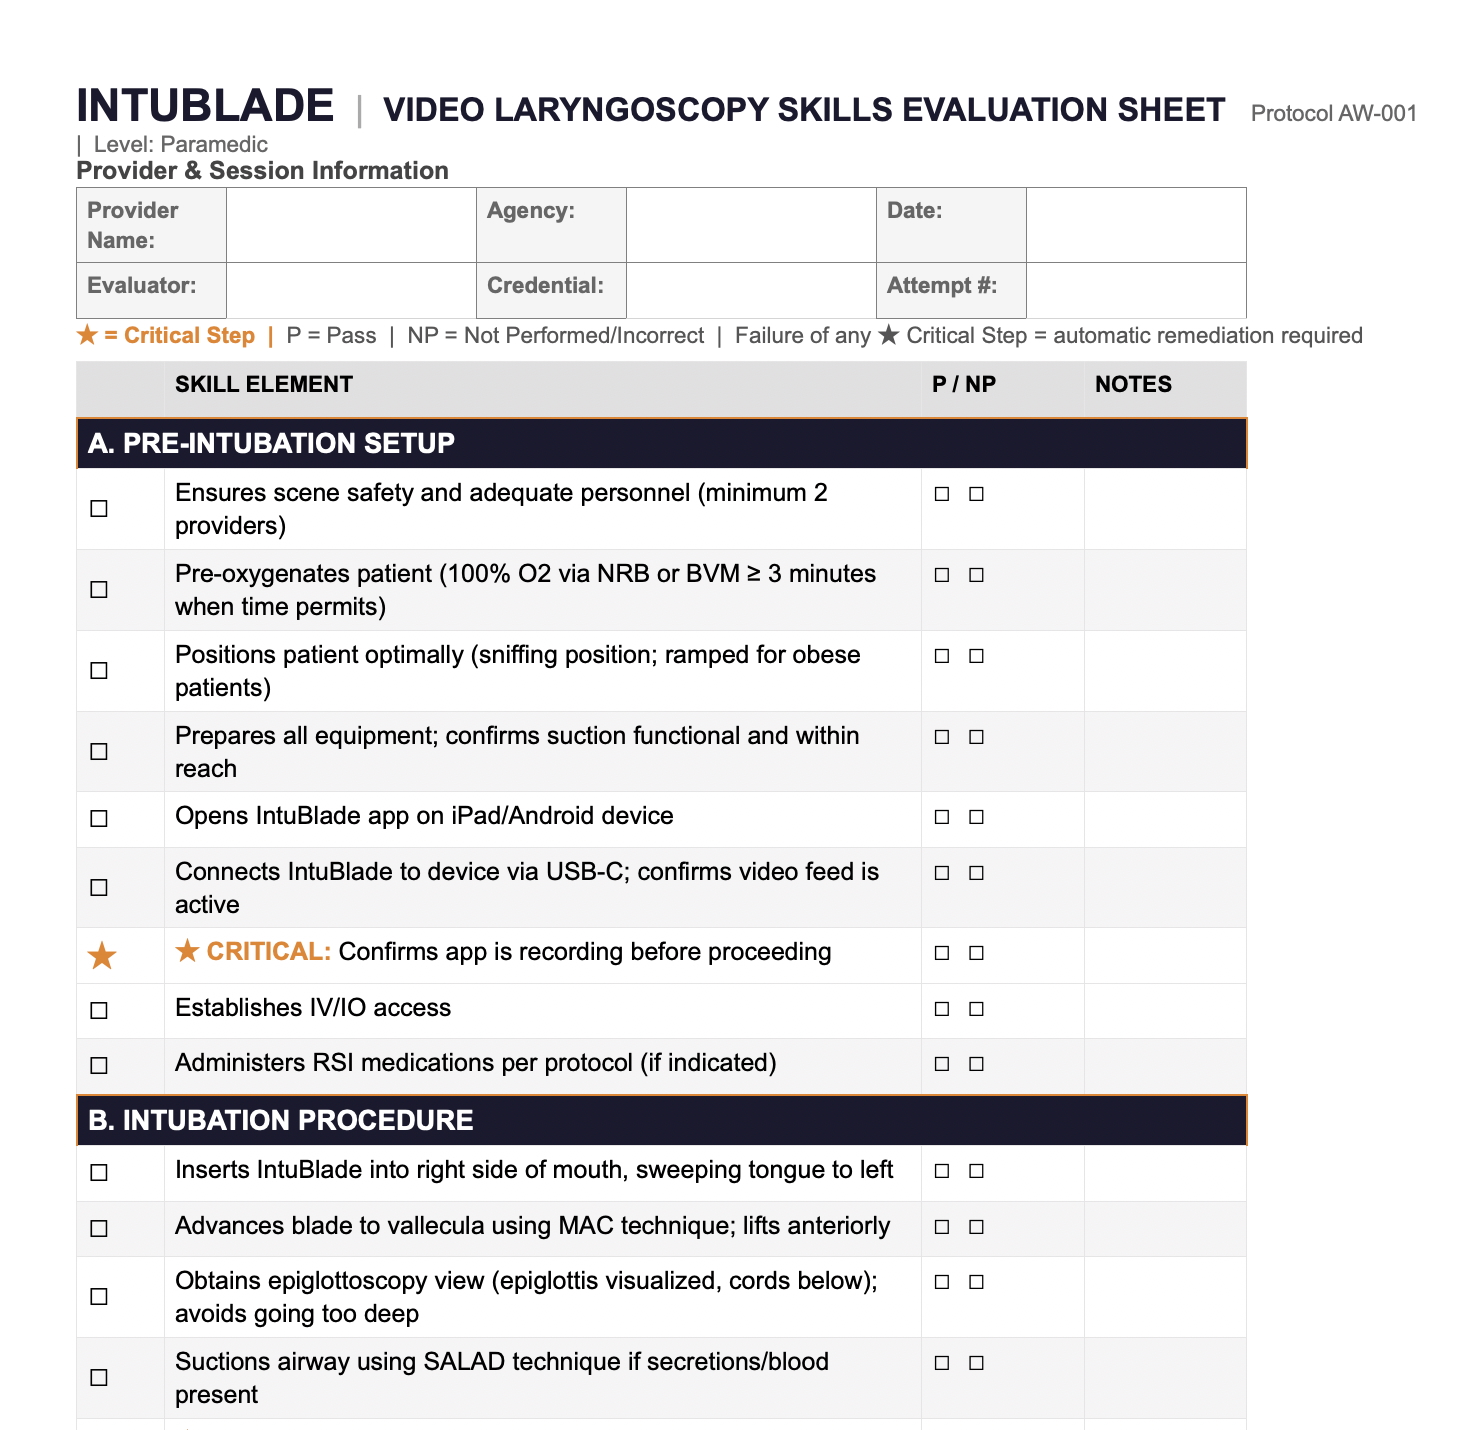
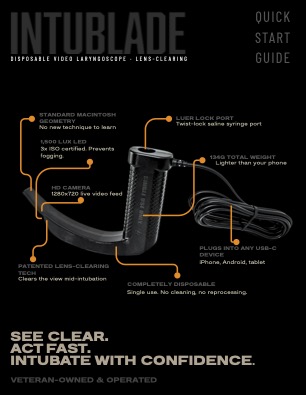
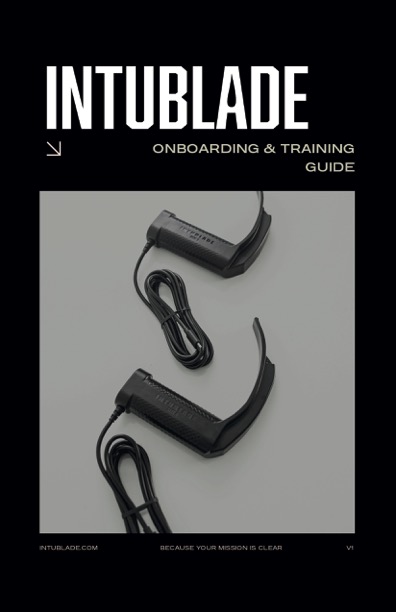
All resources are available without login. Download, print, and distribute freely.
Field Documentation
Quick Start Guide
Setup, technique, and lens clearing for the single-use IntuBlade.• Always check the patient's airway. Do not rely solely on the screen.
Left Column
Technical Profile
- Device Type
- Disposable single-use video laryngoscope with patented lens-clearing technology. No cleaning, reprocessing, or sterilization.
- Mass
- 134 grams total weight.
- Camera Module
- 1280 x 720 HD real-time video feed.
- Illumination
- 1,500 Lux high-intensity LED.
- Geometry
- Standard Macintosh blade design across Macintosh Size 1, Macintosh Size 2, Macintosh Size 3, and Macintosh Size 4.
- Power Source
- USB-C connection requiring no batteries or charging.
- Fluid Interface
- Integrated twist-lock luer-lock port welcoming a 10 mL saline syringe.
- Compatibility
- Supported iOS and Android mobile and tablet devices.
Right Column
Setup Procedure
- 01
Attach & prepare
Select the correct single-use blade size (Macintosh Size 1, Size 2, Size 3, or Size 4) and verify the package expiration date. Plug the IntuBlade USB-C interface directly into your supported iOS or Android viewing device. - 02
App verification
The IntuBlade app launches automatically upon physical connection. Confirm that a live, crisp HD video feed is active on the screen before proceeding. - 03
Load saline syringe
Insert a 10 mL saline-filled syringe into the handle luer-lock port and twist to secure the lock. Press the plunger briefly to verify that the lens-clearing channel functions smoothly. - 04
Intubation technique
- Insert blade: Hold the device in your left hand. Insert midline and sweep the tongue to the left using standard Macintosh technique.
- Locate anatomical milestones: Advance the blade tip directly into the vallecula and lift anteriorly to visualize the vocal cords on screen.
- Guide the tube: Maintain direct airway awareness. Do not rely solely on the digital screen. Advance the endotracheal tube under continuous visualization.
- Confirm placement: Inflate the cuff. Confirm successful positioning using capnography (EtCO2), chest rise, and auscultation. Secure the tube.
- 05
Safe disposal
This system is completely disposable and engineered for single-use only. Do not reuse, reprocess, or re-sterilize. Dispose of the component immediately per local clinical facility protocols.
Field Protocol
Soiled Airway
- •Press the saline plunger briefly to clear the lens mid-intubation when secretions obscure the view.
- •Use SALAD (Suction-Assisted Laryngoscopy and Airway Decontamination) for heavy secretions. Run suction alongside the blade as needed.
- •Limit to two attempts. If unsuccessful, escalate: BVM, then supraglottic airway, then advanced rescue per local protocol.